
Introduction to Home Lab Data Security
Protecting your digital assets is a fundamental requirement for anyone running a personal server environment. Whether you host media libraries or critical virtual machines, losing data can be a devastating experience.
Many hobbyists spend hundreds of hours configuring services and fine tuning their networks. This investment of time makes reliable data protection a top priority for the modern home lab owner.
Traditional methods of simple file copying are no longer sufficient for complex modern setups. You need a structured approach that accounts for various types of hardware and software failures.
This article will guide you through the process of establishing a professional grade protection strategy. We will focus on the industry standard three two one method to ensure your data survives any disaster.
Explaining the Three Two One Philosophy
The three two one rule is a simple yet powerful framework for data redundancy. It provides a clear roadmap for how many copies of your data you should keep and where they should reside.
First, you must maintain at least three separate copies of your important data. This includes the original production data and two additional backups to prevent total loss.
Second, you need to store these copies on at least two different media types. Using diverse storage technologies protects you against specific hardware manufacturing defects or file system bugs.
Finally, one of these copies must be located entirely offsite from your primary home location. This ensures that a physical event like a fire or flood does not destroy all your hardware at once.
The Risk of Single Point Failure
A single point of failure is any component that can cause a total system collapse if it stops working. In a home lab, this is often a single hard drive or a lone server chassis.
Relying on a single storage array is a dangerous gamble for your most important files. Even advanced disk configurations like RAID are not a substitute for backups because they only handle hardware failure.
RAID cannot protect you against accidental file deletion or malicious ransomware attacks. If you delete a file on a mirrored drive, it is deleted from both disks instantly.
A true backup strategy creates a point in time recovery option. This allows you to revert to previous versions of your data before an error occurred.
Identifying Your Most Critical Data
Not every file in your lab deserves the same level of protection and storage cost. You should categorize your data to optimize your resources and prioritize recovery efforts during a crisis.
Operating system configurations and docker compose files are usually small but extremely valuable. These files should be at the top of your list for frequent automated backups.
Large media collections or downloaded ISO files might be less critical if they can be easily replaced. You might choose to exclude these from expensive cloud storage to save money on monthly fees.
Focus on your personal documents, family photos, and unique database entries first. These are the items that are truly irreplaceable if they are lost forever.
Layer One: The Primary Working Copy
The first layer of your strategy is the live data that your services use every day. This is often referred to as your production data environment within the home lab.
This data usually resides on high speed storage like NVMe drives or solid state disks. Fast access is necessary for the performance of your virtual machines and containers.
Because this layer is constantly changing, it is the most vulnerable to corruption. Software updates or configuration mistakes can easily damage these active files.
Ensuring this primary layer is stable and healthy is the first step in a good plan. Use file systems that support checksum verification to detect silent data corruption early.
Layer Two: Local Secondary Storage Media
The second copy of your data should be kept on a separate device within your home. This is your first line of defense for quick data restoration when something goes wrong.
A dedicated network attached storage device is a popular choice for this second layer. It provides a massive amount of space and sits outside your primary server hardware.
By using a different physical device, you protect yourself against a complete server motherboard failure. If your main host dies, your backup repository remains fully accessible and safe.
You should also consider using different disk brands or models for this secondary storage. This reduces the risk of correlated drive failures caused by a specific manufacturing batch error.
Diversifying Your Media Types
Using different media types is a core requirement of the three two one rule. If your primary data is on an SSD, your first backup could be on a mechanical hard drive.
Mechanical drives are excellent for backups because they offer a high capacity at a lower cost per gigabyte. They are also less prone to certain types of electrical circuit failures compared to flash storage.
Advanced users might even consider optical media or magnetic tape for long term archiving. These formats provide offline storage that is completely disconnected from the network when not in use.
This physical separation is often called an air gap. An air gap is the ultimate protection against remote hacking attempts or automated ransomware encryption scripts.
Layer Three: Offsite Disaster Recovery
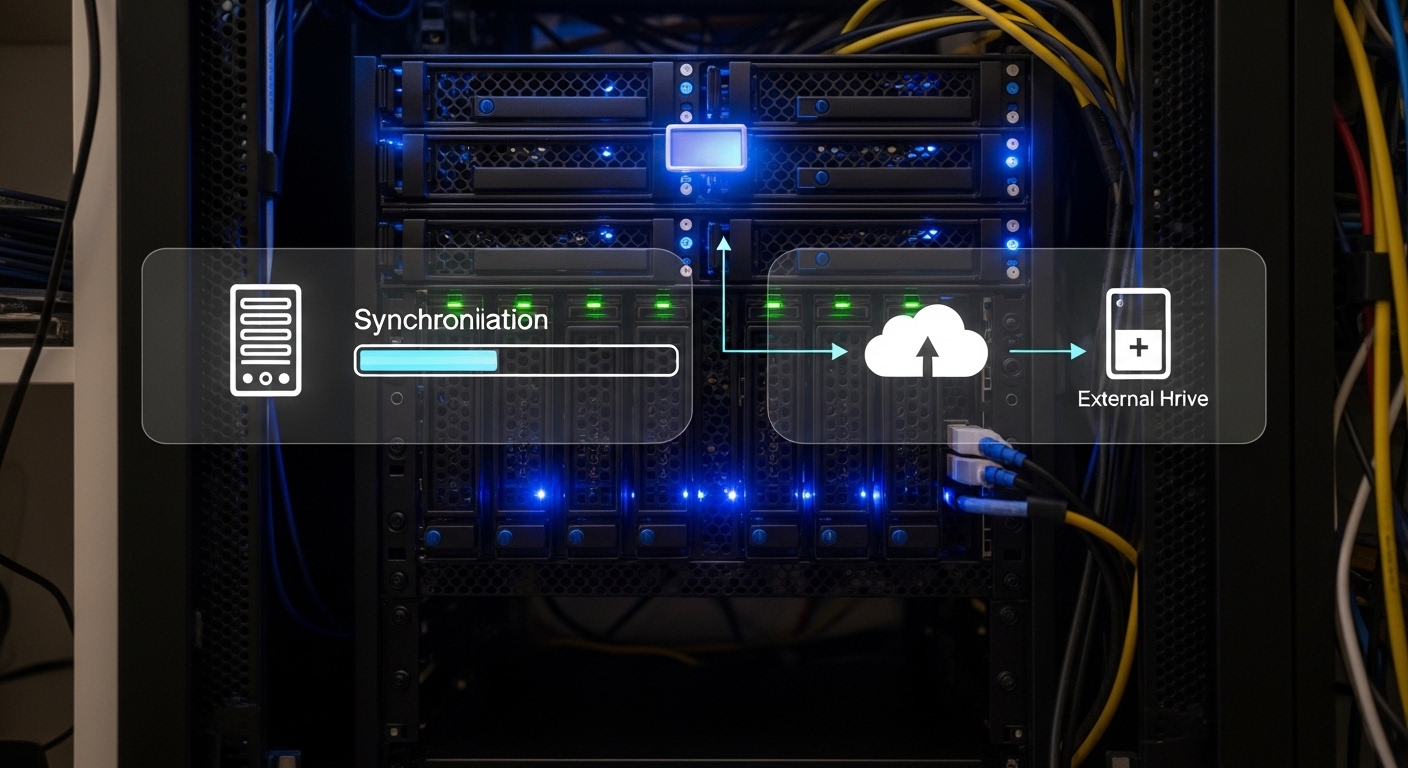
The final step is moving a copy of your data to a geographically distant location. This protects your lab against localized physical disasters like power surges or natural catastrophes.
In the year 2026, cloud storage has become the most accessible way to achieve this offsite goal. Many providers offer affordable tiers specifically designed for archival storage needs.
If you prefer a private solution, you can trade backup space with a trusted friend. You both place a small remote backup server at each other’s homes for mutual protection.
Regardless of the method, the data must be far enough away that a single event cannot affect both sites. Even a detached garage is better than keeping everything in one room.
Cloud Storage and Bandwidth Management
When sending data to the cloud, your internet upload speed becomes a significant bottleneck. Large initial backups can take several days or even weeks to complete the upload.
To manage this, you should use software that supports incremental updates and data deduplication. This ensures only the changed portions of your files are sent over the internet.
Deduplication can drastically reduce your storage costs by removing redundant data blocks. This is especially effective if you are backing up multiple virtual machines with similar operating systems.
Scheduling these transfers for late at night can prevent your backup traffic from interfering with daily activities. Most modern backup tools allow you to limit bandwidth usage during specific hours.
Automation and Scheduling for Consistency
A manual backup plan is a plan that is destined to fail eventually. Humans are forgetful, and the busyness of life often gets in the way of routine maintenance tasks.
You must automate the entire process so that it happens without any human intervention. Use scheduling tools or built in backup services to trigger your transfers daily or even hourly.
Frequent backups reduce the amount of work you lose if a failure occurs. If you only back up once a week, you risk losing seven full days of data and progress.
Monitoring these automated tasks is just as important as the tasks themselves. Set up email notifications or dashboard alerts to inform you if a backup job fails to complete.
Security Encryption and Data Integrity
Backups contain a treasure trove of your most sensitive personal information. You must ensure that this data is fully encrypted before it ever leaves your local network.
Encryption protects your privacy if a cloud provider is breached or if a physical drive is stolen. Use strong cryptographic standards to scramble your files so they are unreadable without your private key.
Always manage your own encryption keys rather than relying on a service provider to do it for you. This concept is often called zero knowledge backup because the storage provider cannot see your data.
Additionally, use tools that generate hashes for every file to ensure data integrity. This allows you to verify that no silent bit rot has occurred over several years of storage.
The Vital Importance of Restoration Testing
A backup is only valuable if you can actually use it to restore your system. Many people discover their backups are corrupted only when they are in the middle of a real emergency.
You should perform regular restoration drills to verify your data is healthy and accessible. Try to restore a single random file once a week to ensure the system is working.
Every few months, attempt a full scale restoration of a non critical virtual machine. This tests the entire recovery pipeline and proves that your strategy is actually effective.
Testing also helps you understand how long a recovery will take during a real disaster. Knowing your recovery time objective helps you manage expectations and plan for downtime accordingly.
Practical Tips for Implementation
Start small by protecting your most vital configuration files first. You do not need to back up everything on the first day of your lab journey.
Use descriptive names for your backup sets to avoid confusion during a stressful recovery situation. Include the date and source server name in the folder titles for better organization.
- Identify your critical data sources like databases and config folders.
- Set up a local NAS or external drive for the first backup layer.
- Choose a cloud provider for the final offsite storage requirement.
- Enable automated scheduling to ensure backups run every single night.
- Encrypt all data before it is sent to any remote storage location.
- Test your restoration process at least once every three months.
Choosing the Right Storage Technology
Selecting the right hardware for your backup repository depends on your specific budget and capacity needs. Traditional hard drives are often the most cost effective choice for bulk data.
If you need high speed recovery, dedicated flash storage arrays can significantly reduce downtime. Speed is less important for the offsite copy where storage density is the priority.
Consider the power consumption of your backup hardware if it stays powered on all day. Using energy efficient drives can save you a surprising amount of money on your yearly electric bill.
Always check the compatibility of your storage media with your chosen backup software. Some file systems require specific disk features to function correctly and reliably over time.
Frequently Asked Questions
Is RAID 1 considered a backup for my home lab? No, RAID is only a high availability tool that keeps your system running during a disk failure.
How often should I run my offsite backup tasks? Daily updates are ideal for most users to minimize potential data loss between sync cycles.
Can I use a USB thumb drive for the second media type? While possible, thumb drives are less reliable than dedicated external hard drives for long term storage.
What is the best way to store encryption keys safely? Keep a physical copy of your keys in a fireproof safe or use a secure password manager.
Should I back up my entire operating system or just the data? Backing up data is essential, but full system images allow for much faster recovery after hardware failure.
Conclusion
Knowing how to implement 3 2 1 backup for home lab setups is a foundational skill for every tech enthusiast. It provides a safety net that allows you to experiment with confidence and peace of mind.
By following the steps in this guide, you create a resilient environment that can withstand almost any technical failure. Remember that the best backup plan is the one that you actually test and maintain regularly.
Start building your redundancy layers today to protect your digital legacy. Your future self will thank you when the inevitable hardware failure finally happens.