

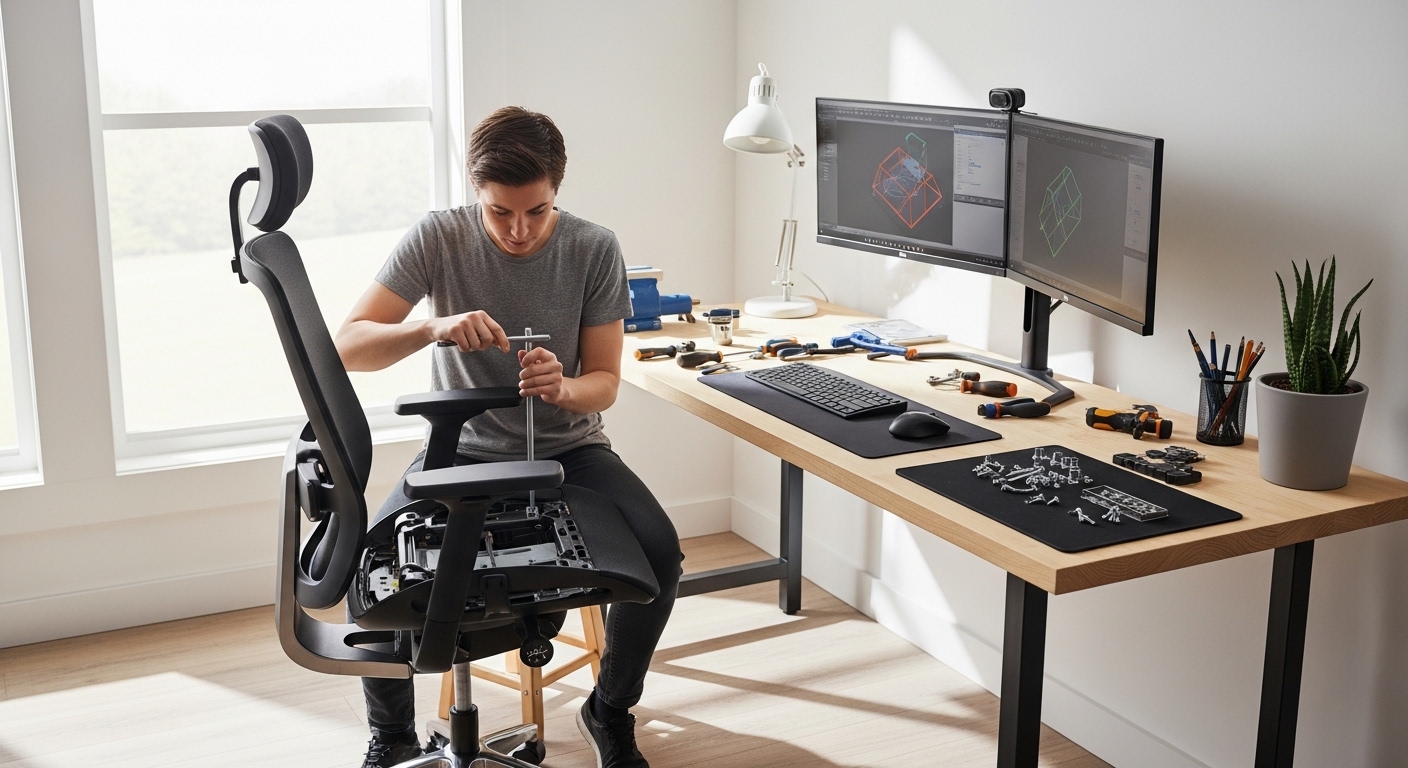
A sinking office chair is one of the most frustrating issues you can face in your workspace. It disrupts your productivity, ruins your ergonomic alignment, and can cause severe physical strain over time.
Fortunately, learning how to fix a sinking office chair does not require a degree in engineering. You can restore your chair to its optimal height using basic household tools or simple replacement parts.
In this comprehensive guide, we will walk you through the underlying causes of this common office dilemma. We will also provide multiple detailed solutions ranging from quick temporary fixes to permanent repairs.
The Anatomy of a Sinking Office Chair
To implement a lasting solution, you must first understand the mechanical components of your seating. Almost every modern office chair relies on a specialized cylinder to control height adjustments.
This cylinder is located directly between the seat base and the wheeled star base. It is a pressurized system that handles immense force throughout the workday.
The Role of the Pneumatic Cylinder
The core component responsible for maintaining your seat height is the gas lift cylinder. This device utilizes compressed nitrogen gas to support your body weight effortlessly.
When you pull the adjustment lever, a small piston acts on the gas chamber. This allows the gas to move, which changes the height of your seat.
When you release the lever, a valve seals the gas chamber shut. This locks the cylinder at your chosen height, creating a solid column of pressurized nitrogen gas under your seat.
Why Do Gas Cylinders Fail?
Over several years of daily use, the internal components of the cylinder begin to degrade. The primary culprit behind a sinking chair is the failure of the internal rubber seals.
These seals are responsible for keeping the high pressure gas trapped within the chamber. Even a microscopic tear in these rubber rings will allow gas to escape slowly.
As the nitrogen leaks out, the cylinder can no longer support your weight. This results in the gradual, annoying drop that forces you to constantly readjust your chair height.
Diagnosing Your Office Chair Issues
Before you begin any repair process, you should carefully inspect your chair. Sometimes, a loose height adjustment lever can mimic a failing pneumatic cylinder.
To verify this, sit on your chair and observe the exact moment the sinking occurs. If the chair drops instantly when you sit, the lever mechanism might be stuck in the open position.
Checking the Adjustment Lever
Look underneath your seat to inspect where the adjustment lever contacts the top of the cylinder. Ensure the lever is not constantly pressing down on the small release valve.
If the lever is bent or misaligned, you can often bend it back into place using pliers. However, if the lever is clear and the chair still sinks, you have a failed internal gas seal that requires intervention.
Assessing the Overall Chair Condition
Take a moment to inspect the other structural parts of your chair. Check the plastic wheel base for cracks and ensure the caster wheels spin freely.
If the rest of the chair is in excellent condition, pursuing a repair is highly recommended. Repairing your chair is incredibly sustainable as we move toward greener workspaces in 2026.
Method 1: The Quick Hose Clamp Fix
If you need a fast and inexpensive solution, the hose clamp method is highly effective. This approach physically prevents the metal cylinder from sliding down into its sleeve.
This is a mechanical stop that does not rely on gas pressure to keep you elevated. It is ideal for those who do not need to adjust their chair height frequently.
Tools Needed for the Hose Clamp Method
You will need a few common items that you might already have in your garage or toolbox. Gather these materials before you begin the repair process.
- One heavy duty metal hose clamp sized to fit your cylinder
- A flathead screwdriver or a nut driver to tighten the clamp
- A roll of high quality duct tape or silicone tape
- A clean microfiber cloth and some rubbing alcohol
Step by Step Instructions
Begin by sliding the plastic decorative cover off the metal cylinder to expose the silver piston. Clean the metal shaft thoroughly using rubbing alcohol to remove grease and oil.
This step is crucial because any leftover grease will cause the clamp to slide. Once the surface is completely dry, wrap a layer of protective duct tape around the metal cylinder.
This tape provides a high friction grip surface for the metal clamp to bite into. It also prevents the metal clamp from scratching the delicate chrome shaft of your cylinder.
Securing the Hose Clamp
Next, open the hose clamp and wrap it around the taped area of the cylinder. Position the clamp at your exact preferred seating height, ensuring it sits directly above the outer column.
Tighten the screw on the hose clamp as firmly as possible using your screwdriver. Test the repair by sitting on the chair to ensure the clamp does not slip under your weight.
Method 2: The PVC Pipe Spacer Solution
The PVC spacer method is another fantastic alternative that offers incredible stability. This method uses rigid plastic pipes to create a physical sleeve over the cylinder.
It is more durable than the hose clamp method and looks much cleaner. You can customize the height perfectly by cutting the PVC pipe to your precise measurements.
Required Materials for PVC Spacers
For this project, you will need to purchase a small length of plastic plumbing pipe. These items are inexpensive and widely available at any local hardware store.
- A length of schedule forty PVC pipe with a one inch inner diameter
- A hand saw or a dedicated PVC pipe cutter
- A tape measure or a wooden ruler
- Safety glasses to protect your eyes during the cutting process
How to Install the PVC Spacers
First, adjust your chair to the exact height you find most comfortable. Measure the exposed distance of the silver metal cylinder from the plastic seat base down to the wheel assembly.
This measurement represents the total length of PVC pipe you will need to cut. Put on your safety glasses and use your hand saw to cut the plastic pipe to this exact length.
Creating the Custom PVC Sleeve
Next, you must create a vertical slit along the entire length of your cut PVC pipe. This slit allows you to snap the rigid pipe directly onto the metal cylinder shaft without taking the chair apart.
Carefully pry the slit open using a flat tool or your fingers. Push the PVC sleeve firmly onto the metal cylinder until it wraps completely around the shaft.
Sit on your chair to test the stability of this custom plastic spacer. The weight of your body will press the seat base down against the solid PVC sleeve, keeping you perfectly elevated.
Method 3: Full Replacement of the Gas Cylinder
While DIY hacks are great, replacing the gas cylinder is the only permanent solution. This process restores your chair to its original factory condition, allowing full height adjustability again.
Replacing the cylinder is highly cost effective compared to buying a brand new ergonomic office chair. It is an excellent weekend project for any home office enthusiast.
Tools Required for Cylinder Replacement
Replacing a cylinder requires a bit more physical effort and some specific tools. Ensure you have these items ready to make the process as smooth as possible.
- A replacement gas cylinder compatible with your office chair model
- A heavy duty pipe wrench or a large pair of locking pliers
- A rubber mallet or a standard hammer with a block of wood
- Penetrating oil spray to loosen rusted metal components
Removing the Old Cylinder Safely
Turn your office chair upside down so the wheel base is facing the ceiling. Apply a generous amount of penetrating oil to the joints where the cylinder meets the seat and the base.
Allow the penetrating oil to sit for fifteen minutes to dissolve any rust or friction locks. Grab the old cylinder firmly with your heavy duty pipe wrench near the base of the seat.
Extracting the Cylinder Shaft
Twist the wrench with firm, steady pressure until the cylinder breaks free from the metal seat plate. You can also use a rubber mallet to tap the underside of the wheel base to dislodge the cylinder.
Be careful not to strike the plastic parts of your chair base with excessive force. Once the old cylinder is removed, wipe away any remaining oil or grease from the mounting sockets.
Installing the New Pneumatic Cylinder
Take your new replacement cylinder and slide the narrow end into the mounting hole under the seat. Ensure it is aligned straight and sits snugly within the receiver plate.
Next, lower the wheeled star base directly onto the wider end of the new cylinder. Press the components together firmly using your hands to establish an initial friction fit.
Securing the New Cylinder Connection
Flip the chair back over onto its wheels and carefully sit down on the center of the seat cushion. Your body weight will fully seat the cylinder into the tapered metal joints, locking it in place.
Test the action of your new cylinder by pulling the height adjustment lever several times. The seat should glide up and down smoothly without any sticking or sinking issues.
Comparing Your Repair Options
Choosing the right repair method depends on your budget, tools, and comfort level with manual tasks. Each option has its own unique advantages and drawbacks.
The hose clamp fix is incredibly cheap and takes under ten minutes to complete. However, it lacks aesthetic appeal and permanently locks your chair at a single height.
Pros and Cons of DIY Hacks
The PVC pipe sleeve looks cleaner than a metal clamp and offers superior weight distribution. Unfortunately, it also eliminates your ability to adjust the height on the fly.
These temporary methods are perfect for older chairs that you plan to replace eventually. They buy you time while keeping your ergonomic and comfortable workstation safe in the short term.
The Value of Full Cylinder Replacement
A full replacement preserves all the functional features of your high end office chair. It is the best choice for premium ergonomic chairs that are otherwise in perfect condition.
Although it requires more effort and tool usage, a new cylinder can extend your chair life by five to ten years. This makes it the most sustainable and cost effective option over time.
Essential Safety Tips for DIY Repairs
Working on pressurized cylinders requires a high level of caution and care. You must follow safety guidelines to prevent accidents or damage to your home workspace.
Never attempt to puncture or open the metal casing of a gas cylinder. The nitrogen gas inside is under extremely high mechanical pressure and can cause serious injury if released suddenly.
Handling Heavy Tools Safely
When using a pipe wrench or mallet, protect your hands by wearing thick work gloves. Always work in a clear, open space with plenty of room to move around your upside down chair.
If you are applying penetrating oil, place a piece of cardboard underneath your work area. This prevents oily residue from staining your home office carpet or hardwood flooring.
How to Prolong Your Office Chair Lifespan
Once you have fixed your chair, practicing good habits will prevent future mechanical failures. Proper usage can significantly extend the lifespan of your new gas cylinder.
Avoid dropping heavily onto your chair when sitting down. This sudden impact creates massive pressure spikes inside the cylinder, which quickly ruins the internal rubber seals.
Mindful Usage Habits
Try to distribute your weight evenly across the seat cushion rather than sitting on the very front edge. Sitting off center creates lateral force on the cylinder shaft, leading to uneven wear on the seals.
Keep the exposed silver shaft of your cylinder clean and free of dust or pet hair. Wipe it down periodically with a dry cloth to prevent debris from grinding into the delicate seals.
Frequently Asked Questions
Can I use tape alone to stop a chair from sinking?
No, adhesive tape alone does not have the mechanical strength to support your body weight. The tape will simply stretch and slide down the metal cylinder under pressure.
You must combine tape with a physical barrier like a metal clamp or plastic spacer. The tape only acts as a friction enhancement layer for the mechanical stop.
Are gas cylinders universal for all office chairs?
Most modern office chairs use standard sized cylinders with a tapered top and bottom diameter. However, there are a few exceptions, especially with high end designer chairs.
Always measure the length and diameter of your old cylinder before ordering a replacement. This ensures a perfect fit and avoids the hassle of returning incompatible parts.
Is it worth fixing a cheap office chair?
If your chair was very inexpensive, a full replacement cylinder might cost as much as a new chair. In this scenario, the cheap PVC spacer method is the most logical choice.
However, if the chair frame and padding are still comfortable, any fix is worth the effort. It keeps usable furniture out of landfills and saves you money.
Conclusion
A sinking seat is a frustrating problem, but it is highly fixable with the right approach. Whether you choose a quick PVC spacer or a complete cylinder swap, you can easily reclaim your ergonomics.
By learning how to tackle these repairs yourself, you save money and reduce environmental waste. Take control of your home office comfort today and enjoy a stable, productive seating experience.