

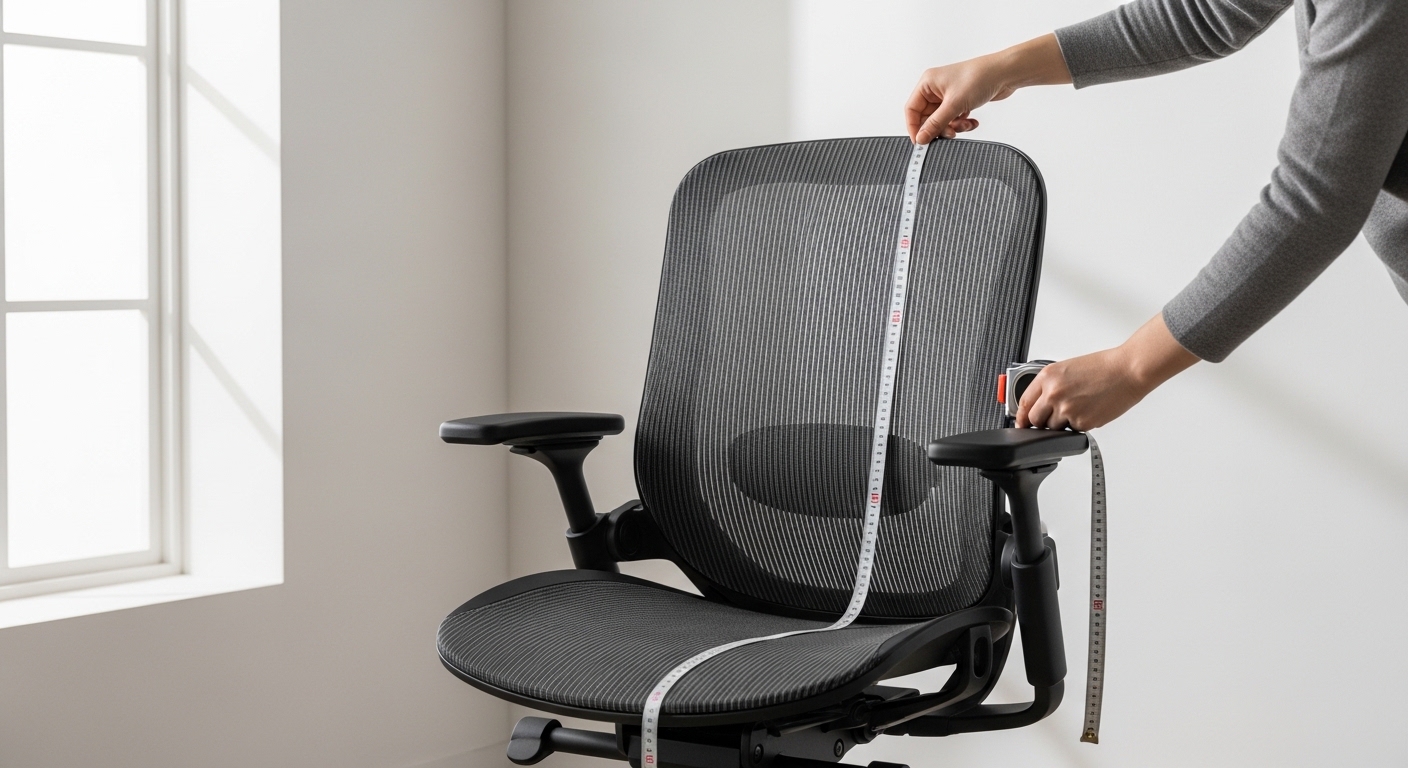
The Science of Finding Your Perfect Seated Fit
Finding the right workspace equipment often feels like a guessing game for many professionals. You might spend hours researching different models without understanding the physical dimensions required for your unique body proportions.
This is why learning how to measure for an ergonomic office chair is the most critical step in your journey toward a healthy workstation. A chair that does not fit your frame can lead to chronic discomfort and long term musculoskeletal issues.
In this comprehensive guide, we will explore the precise methods for gathering your personal anatomical data. We will also look at how to translate those numbers into the ideal chair specifications.
By the time you finish this article, you will have a complete profile of your ergonomic needs. This data will allow you to navigate the complex market of office furniture with absolute confidence.
We are currently entering an era where personalized comfort is paramount for productivity. This remains true as we look forward to the design standards of 2026 and beyond.
Why Anatomical Precision Matters for Productivity
Most standard office chairs are designed to accommodate the middle sixty percent of the population. If you fall outside this specific range, a generic seat may cause significant physical strain.
When you understand your measurements, you can ensure that the chair supports your spine in its natural curvature. Proper support helps maintain the neutral sitting posture which reduces fatigue during long work sessions.
Incorrect seat height can lead to restricted blood flow in the lower limbs. This often manifests as numbness or a tingling sensation after sitting for extended periods.
Similarly, a seat that is too deep can put pressure on the delicate tissues behind your knees. Measuring your body allows you to avoid these common ergonomic pitfalls.
Essential Tools for Your Measurement Session
Before you begin the process, you need a few basic tools to ensure accuracy. A flexible fabric measuring tape is usually more effective than a metal one for measuring body curves.
You should also have a sturdy ruler or a level to help mark horizontal planes. It is helpful to have a notebook or digital document ready to record your findings.
We highly recommend wearing the shoes you typically use during your workday. Shoe height can change your required seat height by half an inch or more.
If possible, ask a friend or family member to help you take these measurements. Having a second person ensures that the tape stays perfectly vertical or horizontal.
Preparing Your Environment
Find a hard, flat chair to sit on while you take your measurements. A kitchen chair or a wooden stool works best because it does not compress under your weight.
Ensure your feet are flat on the floor and your knees are at a ninety degree angle. This creates the baseline position for all subsequent anatomical data points.
Measuring Your Popliteal Height for Seat Elevation
The most fundamental measurement for any chair is the distance from the floor to the crease of your knee. In ergonomic terms, this is known as your popliteal height.
To measure this, sit upright with your feet flat on the ground and your knees bent correctly. Measure from the floor directly up to the underside of your thigh just behind the knee.
The resulting number represents the ideal height for the top of your seat cushion. If the seat is higher than this value, your feet may dangle and cause lower back pressure.
If the seat is lower, your knees will be higher than your hips. This position shifts your weight onto your sit bones and can cause discomfort over time.
Always record this measurement in both inches and centimeters. Having both units makes it easier to compare against manufacturer specifications from around the world.
Calculating the Ideal Seat Depth
Seat depth is the distance from the back of your buttocks to the back of your knees. This measurement ensures that your back is fully supported by the chair backrest.
While sitting upright, measure from the furthest point of your posterior to the back of your knee. Subtract approximately two inches from this total to find your target seat depth.
This small gap is necessary to prevent the edge of the seat from pressing against your nerves. Continuous pressure in the popliteal area can lead to circulatory issues.
A chair with a seat pan that is too short will not provide enough support for your thighs. This lack of support often leads to increased muscle tension in the legs and hips.
The Two Finger Rule
Once you are sitting in a potential chair, you can test the depth using your hand. You should be able to fit two or three fingers between the seat edge and your leg.
If the gap is wider than your hand, the chair may be too shallow for your frame. If there is no gap, the chair is too deep for you.
Determining Your Required Seat Width
The width of the seat must be sufficient to accommodate your hips and thighs without restriction. To find this, measure the widest part of your hips while you are seated.
Add at least one inch of clearance on each side of your body. This extra space allows for slight movements and shifts in position during the day.
If the seat is too narrow, the side bolsters or armrest supports may press against your legs. This can be particularly uncomfortable for users with broader frames.
Conversely, a seat that is too wide might make it difficult to use the armrests effectively. You want a width that feels secure yet spacious.
Measuring Elbow Height for Armrest Placement
Armrests play a vital role in reducing the load on your neck and shoulder muscles. To measure for them, hold your arms at your sides with your elbows bent at ninety degrees.
Measure the distance from the seat surface up to the bottom of your elbow. This value tells you exactly how high the armrest pads should be positioned.
If the armrests are too high, your shoulders will be forced into a shrugged position. This often results in tension headaches and upper back pain.
If the armrests are too low, you will likely lean to one side to find support. Leaning creates an asymmetrical spine alignment which is detrimental to your long term health.
Ideally, you should look for a chair with highly adjustable armrests. The ability to move them up, down, in, and out provides maximum ergonomic flexibility.
Identifying Your Lumbar Support Height
The lumbar spine is the inward curve of your lower back located just above the belt line. Providing support to this specific area is absolutely essential for spinal health.
Measure the distance from the seat surface to the deepest part of your lower back curve. This measurement indicates where the lumbar prominence of the chair should hit your spine.
Every person has a slightly different spinal curvature. A lumbar support that is too high or too low will fail to stabilize the pelvis.
Most high quality chairs offer adjustable lumbar height. Knowing your measurement allows you to set this critical feature correctly from the first day.
Measuring Shoulder Blade Height
You should also measure from the seat to the base of your shoulder blades. This helps you determine the minimum backrest height required for mid back support.
If you prefer a high back chair, measure all the way to the top of your shoulders. This ensures the backrest is tall enough to support your entire torso.
Measuring for a Headrest
Not everyone requires a headrest, but they are beneficial for those who lean back during calls. To measure for one, sit upright and measure from the seat to the base of your skull.
The headrest should cradle the curve of your neck rather than pushing your head forward. Proper alignment prevents strain on the cervical spine.
If you are tall, ensure the headrest can extend high enough to reach your neck. Many standard headrests are too low for taller individuals.
For shorter users, verify that the headrest can be lowered sufficiently. A headrest that hits the top of the head is counterproductive.
The Relationship Between Your Chair and Desk
Even the most perfectly measured chair will fail if it does not integrate with your desk. You must measure the clearance height under your desk surface.
Ensure that the chair armrests can slide under the desk when not in use. This allows you to sit close enough to your keyboard without reaching forward.
If your desk is fixed at a high level, you may need a chair with a taller cylinder. In this case, a footrest will be necessary to maintain the popliteal height relationship.
Measuring the thickness of your desk surface is also a smart move. This helps you understand the vertical space available for your legs and thighs.
Common Measurement Mistakes to Avoid
One frequent error is measuring while sitting on a soft, plush sofa. Soft surfaces cause you to sink, which distorts your measurements significantly.
Another mistake is neglecting to account for the thickness of the chair cushion itself. Manufacturers often list the total height from the floor to the top of the foam.
Do not guess your measurements based on your clothing size. Body proportions vary wildly, and two people of the same height may have different leg lengths.
Always double check your numbers before making a final decision. Small errors in measurement can lead to a costly mistake when ordering furniture.
The Impact of Floor Surfaces
Remember that thick carpeting can effectively lower your chair by half an inch. If you work on a hard floor, your measurements will be more direct.
Consider whether you will be using a plastic chair mat. These mats provide a stable surface that should be included in your floor to seat calculations.
Translating Measurements to Chair Specs
Once you have your list of numbers, compare them to the technical drawings provided by manufacturers. Look for the adjustment ranges rather than fixed numbers.
A chair with a seat height range of eighteen to twenty two inches is versatile. It will likely accommodate your measured popliteal height with room to spare.
Check the seat pan depth adjustment if you are particularly tall or short. Having a sliding seat pan is one of the best ways to achieve a custom fit.
Pay close attention to the width between the armrests. Ensure this width matches your measured shoulder breadth for optimal comfort.
Practical Tips for a Successful Fitting
If you have the opportunity to test a chair in person, bring your measuring tape with you. Physical testing is the ultimate verification of your data.
Sit in the chair for at least fifteen minutes to allow the cushion to settle. This gives you a realistic feel for how the dimensions support your weight.
Move the chair through its full range of motion. Ensure the tilt mechanism does not lift your feet off the floor.
Check that the lumbar support remains in the correct position when you recline. The best chairs maintain spinal alignment throughout the entire range of movement.
Frequently Asked Questions
How often should I re-measure for a chair? You should re-measure if your weight changes significantly or if you move to a new desk. Body changes can alter your ergonomic requirements.
Should I measure with shoes on or off? Always measure with the shoes you wear most often during work. This ensures your seat height is perfectly calibrated for your daily routine.
What if my desk is too high for my measured height? You should raise your chair to match the desk and use a footrest. This keeps your arms and legs in the correct ergonomic positions.
Can I use a standard tape measure? Yes, but a flexible sewing tape is often more accurate for measuring body curves. It stays flush against your skin or clothing.
Conclusion
Taking the time to learn how to measure for an ergonomic office chair is an investment in your health. It removes the uncertainty from the buying process and ensures long term comfort.
Remember that ergonomics is a personal science. Your measurements are the blueprint for a workspace that works for you, not against you.
Use the data you have gathered to find a chair that offers the right balance of support and flexibility. A well fitted chair is the foundation of a productive home office lab.