

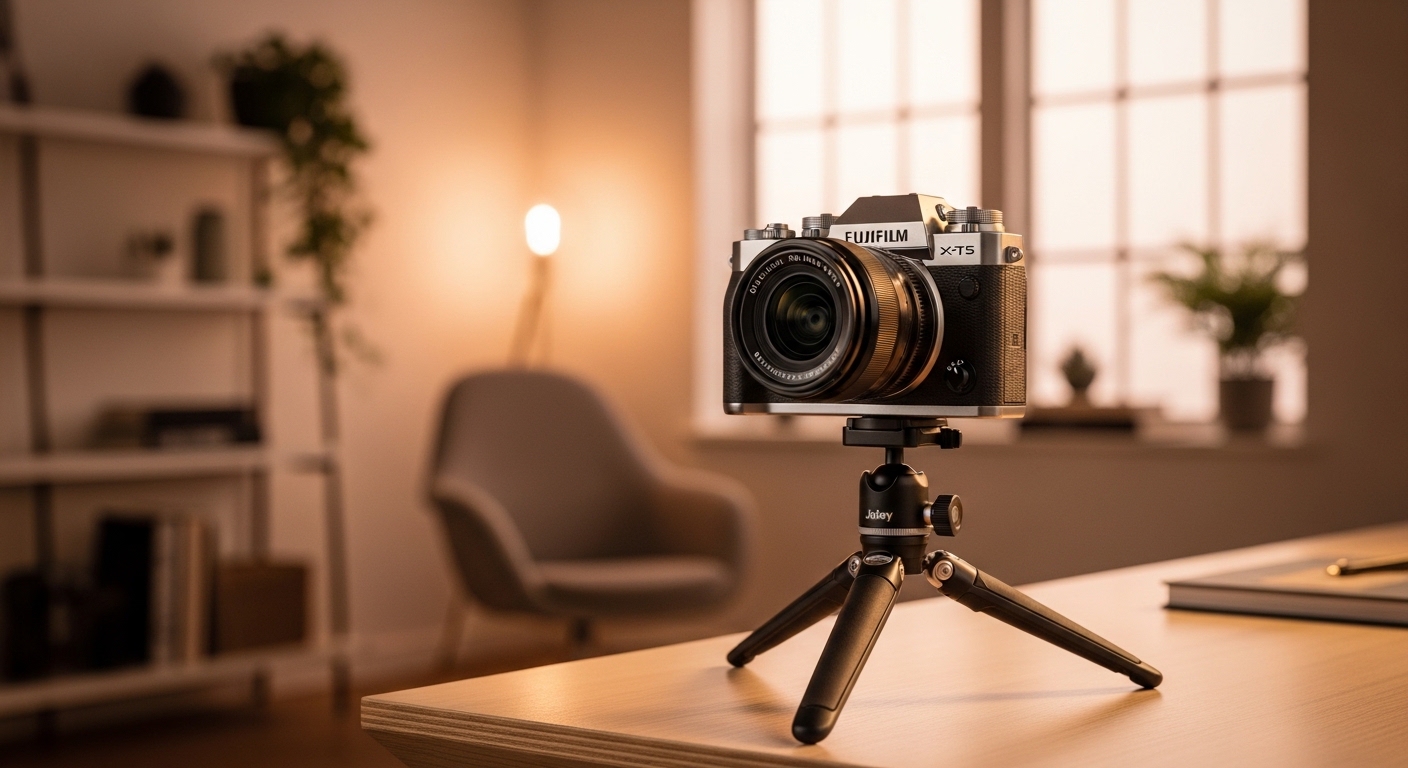
The Evolution of Desktop Video Quality
The standard for professional communication has changed rapidly over the last few years. While a basic webcam was once sufficient, many experts now seek a more polished and cinematic appearance for their meetings.
Achieving this look requires moving beyond fixed lenses found in integrated devices. Understanding how to choose a lens for video calls is the first step toward a superior visual presence.
A dedicated lens allows you to control exactly how you appear to your colleagues or clients. You can manipulate the field of view and the background blur to create a professional atmosphere instantly.
This guide will walk you through the technical specifications that define a great optic. By the end, you will know how to select the perfect glass for your specific office environment.
Understanding Focal Length for Your Workspace
Focal length is measured in millimeters and determines how much of the room is visible in the frame. For video calls, you generally choose between wide angle or standard perspectives.
A wide lens, such as a 16mm or 24mm, is ideal if you have a small desk setup. These lenses allow the camera to sit close to your face while still showing your shoulders and some background.
However, very wide lenses can cause distortion where your nose or forehead appears larger than life. Finding a natural balance is crucial for a flattering image during long meetings.
Standard focal lengths like 35mm or 50mm provide a more realistic perspective that mimics human vision. These are excellent if you have more space behind your desk to position the tripod further away.
Wide Angle vs Standard Perspectives
- Wide lenses capture more of your home office environment.
- Standard lenses create a tighter, more intimate frame for the viewer.
- Tight lenses require a larger room to achieve proper framing.
- Distortion is more common in optics below 20mm.
If you enjoy showing off a well decorated shelf or a clean home office, a wider focal length works best. It provides context to your environment without making the viewer feel cramped.
If your goal is to eliminate distractions, a narrower field of view is the better choice. This keeps the focus entirely on you rather than the room around you.
The Importance of Sensor Size and Crop Factor
The camera body you use significantly impacts how a lens performs. Sensors come in various sizes like full frame, APS C, or Micro Four Thirds.
A 35mm lens on a full frame camera looks very different than on an APS C sensor. This difference is known as the crop factor and it changes your effective focal length.
For example, a 16mm lens on an APS C camera usually behaves like a 24mm lens. You must calculate this multiplier effect before purchasing your equipment.
Micro Four Thirds sensors have a 2.0x crop factor, which makes wide angles harder to achieve. You would need an 8mm or 10mm lens to get a spacious view in a small room.
Decoding Aperture and Background Blur
The aperture refers to the opening in the lens that lets in light, measured as an f number. A lower f number signifies a wider opening and more light entering the camera.
Aperture is the secret to achieving that blurry background look, often called bokeh. Lenses with an aperture of f/1.8 or f/2.8 are highly sought after for this reason.
A wide aperture also helps in rooms with limited natural light. It allows the sensor to capture a bright image without increasing digital noise or graininess.
However, using a very wide aperture like f/1.4 can make the depth of field extremely thin. This might mean your nose is in focus while your ears are already blurry.
Choosing the Right Aperture for Clarity
- Lower f numbers produce more background blur for a professional look.
- Higher f numbers keep both you and your background in sharp focus.
- Lenses with f/2.8 are a great middle ground for most home offices.
- Bright lenses reduce the need for expensive studio lighting setups.
When you learn how to choose a lens for video calls, consider your lighting situation. If you work in a dimly lit room, prioritize a lens with a low f number.
If you have bright windows or professional key lights, you can afford a lens with a smaller maximum aperture. This flexibility can save you money on the lens purchase.
Prime Lenses vs Zoom Lenses
Prime lenses have a fixed focal length, meaning they cannot zoom in or out. They are typically sharper and brighter than their zoom counterparts at the same price point.
Because they have fewer moving parts, prime lenses are often more compact. This makes them very convenient for mounting on a desk arm or small tripod.
Zoom lenses offer versatility by allowing you to change your framing without moving the camera. This is helpful if you switch locations or change your desk layout frequently.
The downside of zoom lenses is that they are often heavier and more expensive. Many budget zooms have variable apertures, which means the image gets darker as you zoom in.
Autofocus Performance for Video
During a video call, you might lean forward or move in your chair. A lens with fast autofocus is essential to keep your face sharp during these movements.
Look for lenses that feature silent focus motors to avoid picking up mechanical noise on your microphone. Modern stepping motors are designed specifically for quiet video performance.
Compatibility with your camera’s eye tracking features is another critical factor. A native lens from the same manufacturer as your camera usually provides the most reliable tracking.
If the autofocus is slow or hunts for focus, it can be very distracting for your audience. Prioritize lenses known for their smooth and consistent focus transitions.
Features for Smooth Focus
- Linear or stepping motors ensure the focus remains silent.
- Internal focusing mechanisms keep the lens from changing size.
- High compatibility with face detection software prevents blurring.
- Manual focus overrides allow for quick corrections if needed.
In a professional setting, reliability is paramount. You do not want the camera focusing on the wall behind you in the middle of a presentation.
Checking reviews for video autofocus performance is a mandatory step before buying. Some lenses are great for photos but struggle with the continuous tracking needed for video.
Minimum Focus Distance Considerations
The minimum focus distance is how close the lens can be to an object while still staying sharp. For video calls, the camera is often within arm reach on your desk.
If the minimum focus distance is too long, the lens will not be able to focus on you. This is a common mistake when using lenses designed for distant subjects.
Lenses with a short focus distance allow you to place the camera right behind your monitor. This positioning creates a natural eye level look for your calls.
Always check the technical specs for the focusing range in centimeters or inches. A distance of 30cm or less is generally ideal for a standard desk setup.
The Role of Lens Mounts and Adapters
Every camera system uses a specific mount that determines which lenses can be attached. You must ensure the lens mount matches your camera body perfectly.
For example, an E mount lens will not fit on an RF mount camera without a special adapter. Using native glass is always the simplest and most effective solution.
Adapters can be used to mount older or different brand lenses to your modern camera. However, this often results in slower autofocus or lost electronic communication between the devices.
If you are building your setup in 2026, look for modern mirrorless mounts that offer high data speeds. These advanced connections allow the lens to talk to the camera instantly for perfect exposure.
Mount Compatibility Checklist
- Verify the mount type on both the camera and the lens.
- Consider the weight of the lens for your desk mount.
- Check if the lens requires firmware updates via the camera body.
- Research if an adapter will maintain full autofocus capabilities.
- Ensure the lens covers the entire sensor size without vignetting.
Using the wrong mount can lead to frustrating technical issues. Always double check compatibility on the manufacturer website before completing your purchase.
A secure connection ensures stable video without any flickering or signal loss. This stability is the foundation of a reliable home office video system.
Build Quality and Aesthetics
While the internal glass is important, the external build quality also matters for long term use. Lenses made of metal or high quality composites feel more premium.
Since the lens will be visible on your desk, its physical appearance might be a factor. Compact, sleek designs often blend better with a modern workspace aesthetic.
Weather sealing is less important for indoor video calls, but it protects against dust. A sealed lens will stay clean internally for many years of daily use.
Focus rings should turn smoothly if you ever need to make manual adjustments. A well damped ring provides a tactile experience that makes fine tuning easier.
Budget Considerations for Video Lenses
Lenses can range from a few hundred to several thousand dollars. It is important to allocate your budget wisely based on your professional requirements.
Entry level prime lenses often offer the best value for video calls. They provide excellent sharpness and aperture without the high cost of pro zoom optics.
Investing in used equipment is a smart way to get high end glass for less. Many photographers sell their gear in perfect condition to upgrade to newer models.
Remember that a high quality lens retains its value much better than a camera body. It is often a smarter long term investment for your career.
Where to Invest Your Money
- Prioritize aperture if you work in dark environments.
- Prioritize focal length if you have a very small office.
- Prime lenses offer better quality per dollar than zooms.
- Save money on weather sealing since you are indoors.
Think of your lens as a tool that will last for decades. While camera bodies become obsolete quickly, great glass remains useful for a very long time.
A mid range lens is often more than enough for the compressed video used in most calling apps. You do not always need the most expensive cinema optics available.
The Impact of Lens Filters
Using filters can further enhance your video call quality. A circular polarizer can reduce glare if you wear glasses or have reflective surfaces behind you.
Neutral density filters are useful if you want to use a wide aperture in a very bright room. They act like sunglasses for your lens, allowing you to keep that blurry background.
UV filters are mostly used to protect the front element from scratches or fingerprints. They are a cheap insurance policy for your expensive optical investment.
Some professionals use mist filters to create a soft glow around light sources. This can give your video a dreamier, more cinematic quality that stands out.
Conclusion: Finalizing Your Selection
Choosing the right glass is the most effective way to professionalize your image. By focusing on focal length and aperture, you gain total control over your look.
Remember that how to choose a lens for video calls depends heavily on your specific room size. Measure your desk to camera distance before making any final decisions.
A 24mm or 35mm prime lens with an aperture of f/1.8 is the gold standard for most. It offers a perfect balance of field of view, brightness, and background separation.
Once you find the right lens, your visual communication will reach a new level. You will appear more confident and prepared in every digital interaction.
Take your time to research the specific mount requirements for your camera. A well chosen lens is the ultimate upgrade for any serious home office setup.