
The Evolution of Display Setup and Cable Management
Setting up an efficient home office often requires expanding your screen real estate to handle multiple applications simultaneously. In the past, this meant running numerous thick cables from your computer to each individual screen on your desk.
This traditional method created a chaotic tangle of wires behind your desk, catching dust and ruining the clean aesthetic of your workspace. Fortunately, modern display interfaces have evolved to provide an elegant solution to this common cable management problem.
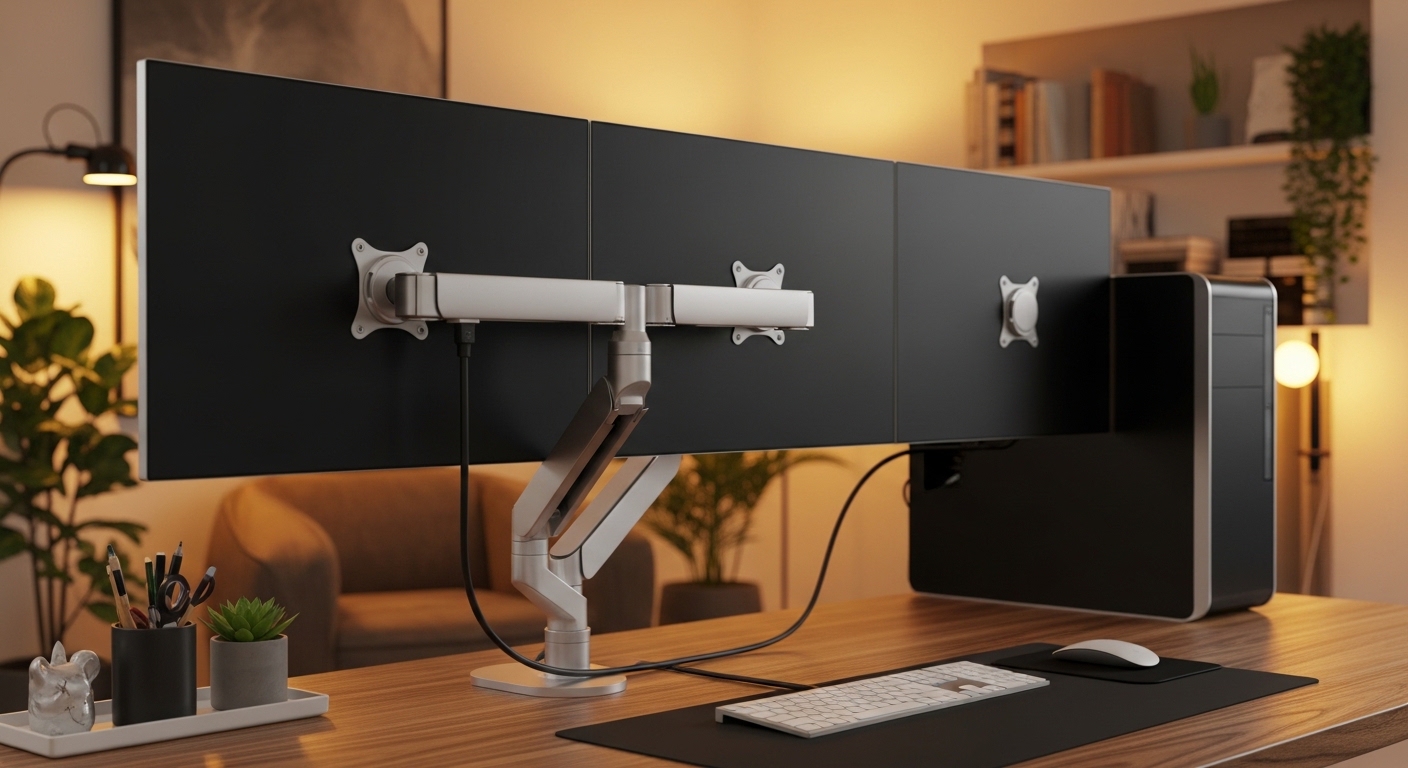
By learning how to daisy chain monitors with displayport, you can transform your workspace into a clean and highly productive environment. This advanced setup technique allows you to link your displays together in a neat sequence using a single output port from your computer.
In this comprehensive guide, we will explore the technical details, hardware requirements, and configuration steps to get your daisy chain system working flawlessly.
What is DisplayPort Daisy Chaining?
At its core, daisy chaining is a wiring topology where multiple devices are connected together in a sequential series. Instead of connecting every display directly to your computer graphics card, you connect them in a linear chain.
The first screen in the series connects directly to your PC, while the second screen connects directly to the first screen. This pattern continues for any additional screens you wish to add to your workspace setup.
This linear configuration drastically reduces the length and number of cables running back to your computer system. It is particularly beneficial for users with minimalist desk setups or those utilizing adjustable monitor arms.
By routing cables from screen to screen rather than from screen to floor, you achieve a highly organized workspace. This makes sitting and standing desk adjustments much smoother and safer for your valuable equipment.
Understanding the Role of Multi Stream Transport
The core technology that enables this efficient connection method is known as Multi Stream Transport. This revolutionary protocol was first introduced to the public with the release of the DisplayPort 1.2 specification.
Before this update, display cables could only carry a single video signal, a method known as Single Stream Transport. Multi Stream Transport changed this by allowing a single port to transmit multiple independent video signals simultaneously.
Your computer packages these independent video signals into a single, high bandwidth data stream. This combined stream is sent down the primary cable to the first screen in your sequential chain.
The first display acts as a smart hub, reading its own video data and passing the rest along. This allows for a seamless extended desktop across all of your connected displays.
How Multi Stream Transport Packages Video Data
To understand why this technology is so effective, it helps to look at how data travels through a DisplayPort cable. DisplayPort does not transmit video as a continuous analog signal like older VGA cables did.
Instead, it transmits data in micro packets, which is very similar to how internet data travels across a local network. Each packet of video data contains a header that indicates its destination screen in the chain.
This packetized data structure allows your graphics card to address individual screens with high precision. The graphics card knows exactly which packet belongs to which display, ensuring perfect synchronization across your screens.
This advanced architecture is what makes DisplayPort uniquely suited for daisy chaining compared to other display interfaces. It is a highly robust system designed to handle massive amounts of visual information without delay.
The Physical Hardware Requirements for Daisy Chaining
Before you begin purchasing cables, you must ensure that your hardware is fully compatible with this technology. Not every graphics card or monitor on the market supports Multi Stream Transport.
First, you will need a graphics card that features a DisplayPort 1.2 output port or a newer version. Most modern graphics cards from AMD and NVIDIA support this feature natively as a standard specification.
Second, your monitors must have the correct configuration of physical ports on their input panels. The intermediate screens in your chain must possess a DisplayPort input port and a DisplayPort output port.
The output port is the most critical component, as it allows the display to pass the remaining video packets downstream. The very last monitor in your chain only requires a standard input port to function.
Identifying Input and Output Ports on Your Screens
When inspecting the back of your monitors, you must look closely at the port labels. The input port is typically labeled as ‘DP In’, while the output port is labeled as ‘DP Out’.
If you do not see a ‘DP Out’ port, your monitor cannot be used in the middle of a daisy chain. It can only be used as the final screen in the series, receiving the final signal.
Some monitors feature USB Type C ports that also support DisplayPort signals over Alt Mode. These ports can often be used for daisy chaining if they are specifically rated for output signals.
Always consult your manufacturer manual to verify the exact capabilities of your monitor ports. Assuming compatibility without checking can lead to frustrating setup failures and returned products.
Graphics Card Capabilities and Screen Limits
Even if your monitors support daisy chaining, your graphics card has physical limits on the number of displays it can drive. This limit is often independent of the physical ports available on the card.
For instance, many integrated graphics processors from Intel are limited to driving three independent displays in total. This count includes your laptop screen if you are using a portable system docked at your desk.
Dedicated graphics cards from NVIDIA and AMD often support up to four or even six independent displays. It is vital to check your graphics card specifications to understand these hardware boundaries before planning your layout.
Exceeding the maximum display limit of your GPU will result in the extra monitors remaining completely black. The operating system will simply refuse to activate the additional screens in the chain.
The Importance of High Quality DisplayPort Cables
To establish a stable and reliable daisy chain, you must use high quality cables. Because a single cable carries the data for multiple screens, any signal degradation will affect the entire setup.
You should always look for cables that are officially certified by the Video Electronics Standards Association. These certified cables undergo rigorous testing to ensure they meet strict performance and shielding standards.
Using cheap, uncertified cables often results in screen flickering, intermittent blackouts, or limited resolution options. Investing in certified DisplayPort cables is the best way to ensure a hassle free installation.
Additionally, you must pay attention to the version rating of the cables you purchase. Ensure they are rated for the version of DisplayPort your hardware uses, such as 1.2 or 1.4.
Understanding Cable Length and Signal Integrity
The length of your display cables plays a significant role in maintaining signal integrity across the chain. Longer cables experience more resistance, which can weaken the high frequency digital signals.
For the connection between your computer and the first monitor, a standard six foot cable is usually perfectly fine. However, for the links between monitors, you should use much shorter cables.
Cables that are two or three feet long are ideal for connecting adjacent monitors on a desk. This short distance minimizes signal loss and keeps excess cable clutter from building up behind your screens.
Keeping cables short also prevents them from catching on desk accessories or monitor mounts when you adjust your screen positions. It is a simple practice that yields great long term reliability.
Bandwidth Calculations and Resolution Constraints
The total number of screens you can daisy chain is directly limited by the bandwidth of your DisplayPort version. Bandwidth is the maximum amount of data that can travel through the cable per second.
DisplayPort 1.2 has a maximum bandwidth of twenty one point six gigabits per second. This bandwidth is shared among all the screens you connect in your sequential chain.
A standard full high definition screen running at sixty hertz requires relatively little bandwidth. Therefore, you can easily chain up to four of these screens on a single DisplayPort 1.2 connection.
However, if you upgrade to higher resolutions, the bandwidth requirements increase dramatically. A quad high definition screen requires significantly more data than a standard full high definition screen.
Resolutions Supported by DisplayPort 1.4
If you want to use modern high resolution displays, you will need the increased bandwidth of DisplayPort 1.4. This version increases the maximum bandwidth to thirty two point four gigabits per second.
With a DisplayPort 1.4 connection, you can successfully chain two quad high definition screens at high refresh rates. You can also chain two ultra high definition 4K screens running at sixty hertz.
To help you plan your setup, let us look at the common display configurations supported by each DisplayPort version.
- DisplayPort 1.2 can support four full high definition screens at sixty hertz.
- DisplayPort 1.2 can support two quad high definition screens at sixty hertz.
- DisplayPort 1.4 can support two ultra high definition 4K screens at sixty hertz.
- DisplayPort 1.4 can support four quad high definition screens at sixty hertz.
If you attempt to connect more screens than the bandwidth allows, the system will fail to display them. You may receive an error message about exceeding display bandwidth limits on your computer.
Introducing Display Stream Compression
A technology called Display Stream Compression can greatly expand the limits of your daisy chain setup. This visually lossless compression standard was introduced with DisplayPort 1.4.
It compresses the video data before sending it through the cable, effectively doubling the capacity of your connection. This compression occurs in real time with virtually zero latency or quality loss.
If both your graphics card and your monitors support this feature, you can chain more high resolution screens. This is a game changer for users who require multiple 4K screens for detailed work.
Always check your hardware specifications to see if Display Stream Compression is supported. Enabling this feature can instantly solve bandwidth bottlenecks in advanced monitor configurations.
Step by Step Setup and Connection Guide
With all the correct hardware and cables gathered, you are ready to assemble your multi monitor workspace. Follow these steps carefully to ensure your computer detects everything properly.
First, turn off your computer and disconnect the power cords from all of your monitors. Shutting down your system prevents accidental electrical surges and ensures a clean detection process.
Take your primary DisplayPort cable and connect it to the output port on your computer graphics card. Connect the other end of this cable to the DisplayPort input port of your first monitor.
Make sure the cable clicks securely into place, as DisplayPort connectors feature small latches to prevent accidental disconnection.
Connecting the Downstream Monitors
Next, take your second, shorter DisplayPort cable and locate the output port on your first monitor. Plug this cable into the output port of the first monitor.
Connect the opposite end of this cable to the input port of your second monitor in the chain. If you are using a third monitor, connect another cable from the output of the second to the input of the third.
Once all of your physical connections are secure, plug in the power cords for all of your monitors. Turn on all of the monitors before booting up your computer system, as this helps the BIOS detect the screens.
Finally, power on your computer and wait for the operating system to load completely. Do not panic if some screens remain black or show mirrored images during this initial boot phase.
Configuring On Screen Display Settings for Multi Stream Transport
Many monitors do not ship with Multi Stream Transport enabled by default. You must manually activate this feature within the internal menus of your monitors for the chain to work.
Locate the physical control buttons on your first monitor and open the on screen display menu. Navigate to the system settings or input settings section of the menu.
Look for a setting labeled MST, DisplayPort 1.2, DisplayPort 1.4, or Multi Stream. Change this setting to enabled or turned on to activate the video passthrough feature on the monitor.
Once activated, the first monitor will begin forwarding the remaining video packets to the next screen in the chain.
Configuring the Remaining Screens in the Chain
You must also enable this setting on any other intermediate screens in your chain. However, you must keep this setting disabled on the very last monitor of your sequence.
Disabling Multi Stream Transport on the final monitor tells the system that the chain has ended. This prevents the graphics card from searching for additional downstream screens unnecessarily.
After enabling these settings, you may see your screens flicker or temporarily lose signal. This is completely normal as the graphics card reconfigures the display signal routing on your desk.
If your screens are now displaying images, we can proceed to configure the operating system to extend your desktop area.
Configuring Windows for an Extended Desktop
Windows operating systems make it very easy to manage and arrange multiple screens. Once the hardware is configured, you must tell Windows how to use your new screens.
Right click on an empty area of your desktop and select display settings from the context menu. A window will open showing numbered boxes representing each of your connected monitors.
If any of your screens are missing from this visual representation, click the detect button. Windows will scan the DisplayPort chain to find any newly activated displays on your desk.
Once all monitors are visible, scroll down to the multiple displays section of the settings menu.
Arranging Your Screens Virtually
Change the display setting to extend these displays to create a massive virtual workspace. Now, you can drag the numbered boxes around to match their physical arrangement on your desk.
This virtual arrangement ensures that your mouse cursor moves smoothly across the screen borders without jumping. You can also adjust the individual resolution and scaling settings for each monitor from this menu.
Select one of the screens to be your main display, which will host your taskbar and desktop icons. Click the apply button to save your settings and complete the software configuration process.
Your Windows computer is now fully configured to utilize your high efficiency daisy chain display setup.
The Reality of macOS and Daisy Chaining
It is highly important to address the limitations of Apple computers when it comes to this technology. macOS does not support Multi Stream Transport daisy chaining over standard DisplayPort.
If you connect multiple DisplayPort screens in a chain to a Mac, they will only mirror each other. You will see the exact same desktop image on every screen in the chain.
This is a deliberate software limitation within macOS, as Apple prefers to support Thunderbolt technology for multi screen setups. This can be highly frustrating for Mac users hoping to use standard DisplayPort hardware for their offices.
If you are a Mac user, you must look for alternative connection methods to achieve a clean multi screen workspace.
Thunderbolt Alternatives for Mac Users
To daisy chain displays on a Mac, you must use monitors that feature certified Thunderbolt input and output ports. Thunderbolt uses a different protocol that macOS supports for multi stream video data.
Alternatively, you can use a high quality docking station to connect multiple independent screens to your Mac. The docking station handles the video routing internally, bypassing the macOS DisplayPort limitation entirely.
Understanding these platform specific differences will save you from making costly purchasing mistakes. Always choose the right display technology based on the primary computer operating system you use daily.
Troubleshooting Common Setup Problems
Even with careful planning, you may encounter some technical hurdles during your setup process. Let us look at the most common issues and how to solve them.
If your second or third monitor remains completely black, check the cable connections first. Ensure each cable is firmly clicked into the correct input and output ports on your devices.
It is very easy to accidentally plug a cable into two input ports, which will break the signal chain. Another common culprit is an outdated graphics card driver on your host computer.
Visit the website of your graphics card manufacturer to download and install the latest drivers. These updates often contain crucial bug fixes for multi display compatibility issues.
Resolving Signal Flickering and Drops
If your screens are flickering or occasionally losing signal, you may be exceeding your connection bandwidth limits. Try lowering the refresh rate of your screens within your operating system display settings.
Reducing the refresh rate from sixty hertz to thirty hertz can immediately stabilize a borderline connection. If this resolves the issue, you may need to upgrade to higher quality cables or lower your resolution.
You should also ensure that your laptop is connected to its power adapter during use. Many laptops restrict power to their video output ports when running on battery, causing intermittent signal loss in chains.
If problems persist, try testing each monitor and cable individually to isolate the defective component in your setup.
Maintaining Cable Organization and Desk Ergonomics
Once your screens are functioning perfectly, you should focus on cable management. A clean desk environment is essential for maintaining focus and reducing daily stress in your home office.
Use hook and loop cable wraps to bundle your power and display cables together behind each monitor. This keeps the wires from hanging down in an unsightly mess beneath your desk surface.
Route the cables along the arms of your monitor mount to keep them completely hidden from view. This simple step creates a highly professional look for your home office setup.
Ensure that you leave enough slack in the cables to allow your monitors to tilt, pivot, or rotate freely.
Using Under Desk Trays for Power Bricks
Many monitors utilize large external power bricks that can clutter your desk surface or floor space. You should install an under desk cable management tray to hold these heavy power bricks securely.
This keeps the floor beneath your desk clear, making it much easier to vacuum and keep clean. It also prevents you from accidentally kicking or unplugging your power cables while working.
An organized workspace not only looks great but also protects your hardware investment from damage over time. Take the extra time to secure your wires and enjoy a beautiful, highly functional workspace every day.
Frequently Asked Questions
Can I use HDMI cables to daisy chain my monitors?
No, standard HDMI cables and ports do not support the Multi Stream Transport technology required for daisy chaining. You must use DisplayPort or compatible USB Type C connections to build a sequential chain.
Can I mix different monitor brands in a single chain?
Yes, you can mix different brands of monitors as long as the intermediate screens feature DisplayPort output ports. However, using matching monitors often provides a much more consistent visual experience on your desk.
What is the maximum number of monitors I can connect in a chain?
The maximum number depends on your graphics card capabilities and screen resolutions. Most modern systems can support up to four monitors at standard full high definition resolution on a single chain.
Does daisy chaining increase input lag for gaming?
The input lag introduced by the video signal passing through intermediate monitors is negligible and imperceptible to the human eye. It is perfectly suitable for general office productivity and casual gaming sessions.
Conclusion
Learning how to daisy chain monitors with displayport is an excellent way to clean up your home office. It allows you to build a powerful multi screen system while eliminating the mess of excessive cables.
By verifying your hardware compatibility and utilizing high quality certified cables, you can easily establish a reliable connection. While Windows users can take full advantage of this technology, Mac users must rely on Thunderbolt alternatives.
Activate the Multi Stream Transport settings on your screens and configure your desktop layout in Windows to complete your setup. Enjoy your newly organized desk and the massive boost in your daily productivity.